
For first turns
a run for getting to know the slope and practicing basic skills
Route map
Kukisvumchorr features six runs with a total length of approximately 10 km. The vertical drop is 520 meters, ranging from a beginner slope for initial runs to steep sections of natural mountain terrain.
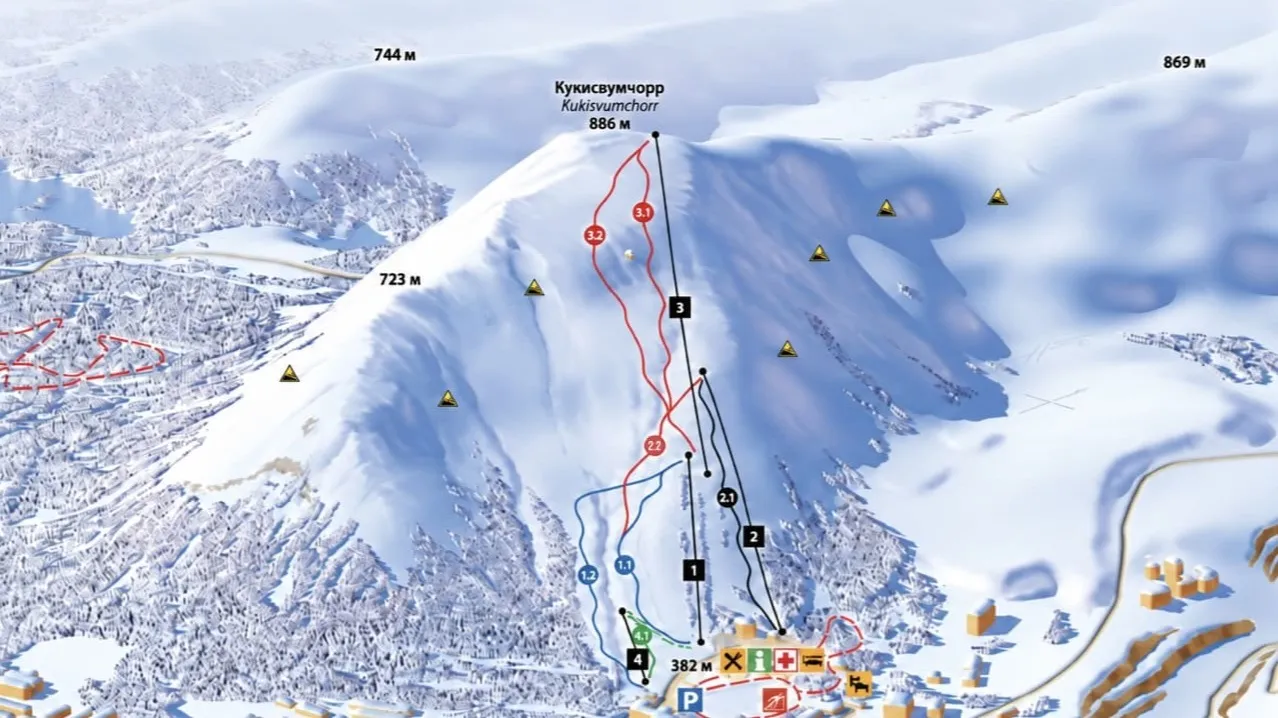
Runs
At Kukisvumchorr you can pick a line for your level — from first turns on the beginner slope to demanding pitches with real mountain terrain. Choose a run that matches your experience and the conditions on the hill.
For first turns
a run for getting to know the slope and practicing basic skills
For confident riding
suitable if you feel confident on the slopes
For experienced riders
slopes that let you experience the true terrain of the Khibiny Mountains
For professionals
it’s a good choice if you’re ready to move on to steeper descents.
Где кататься
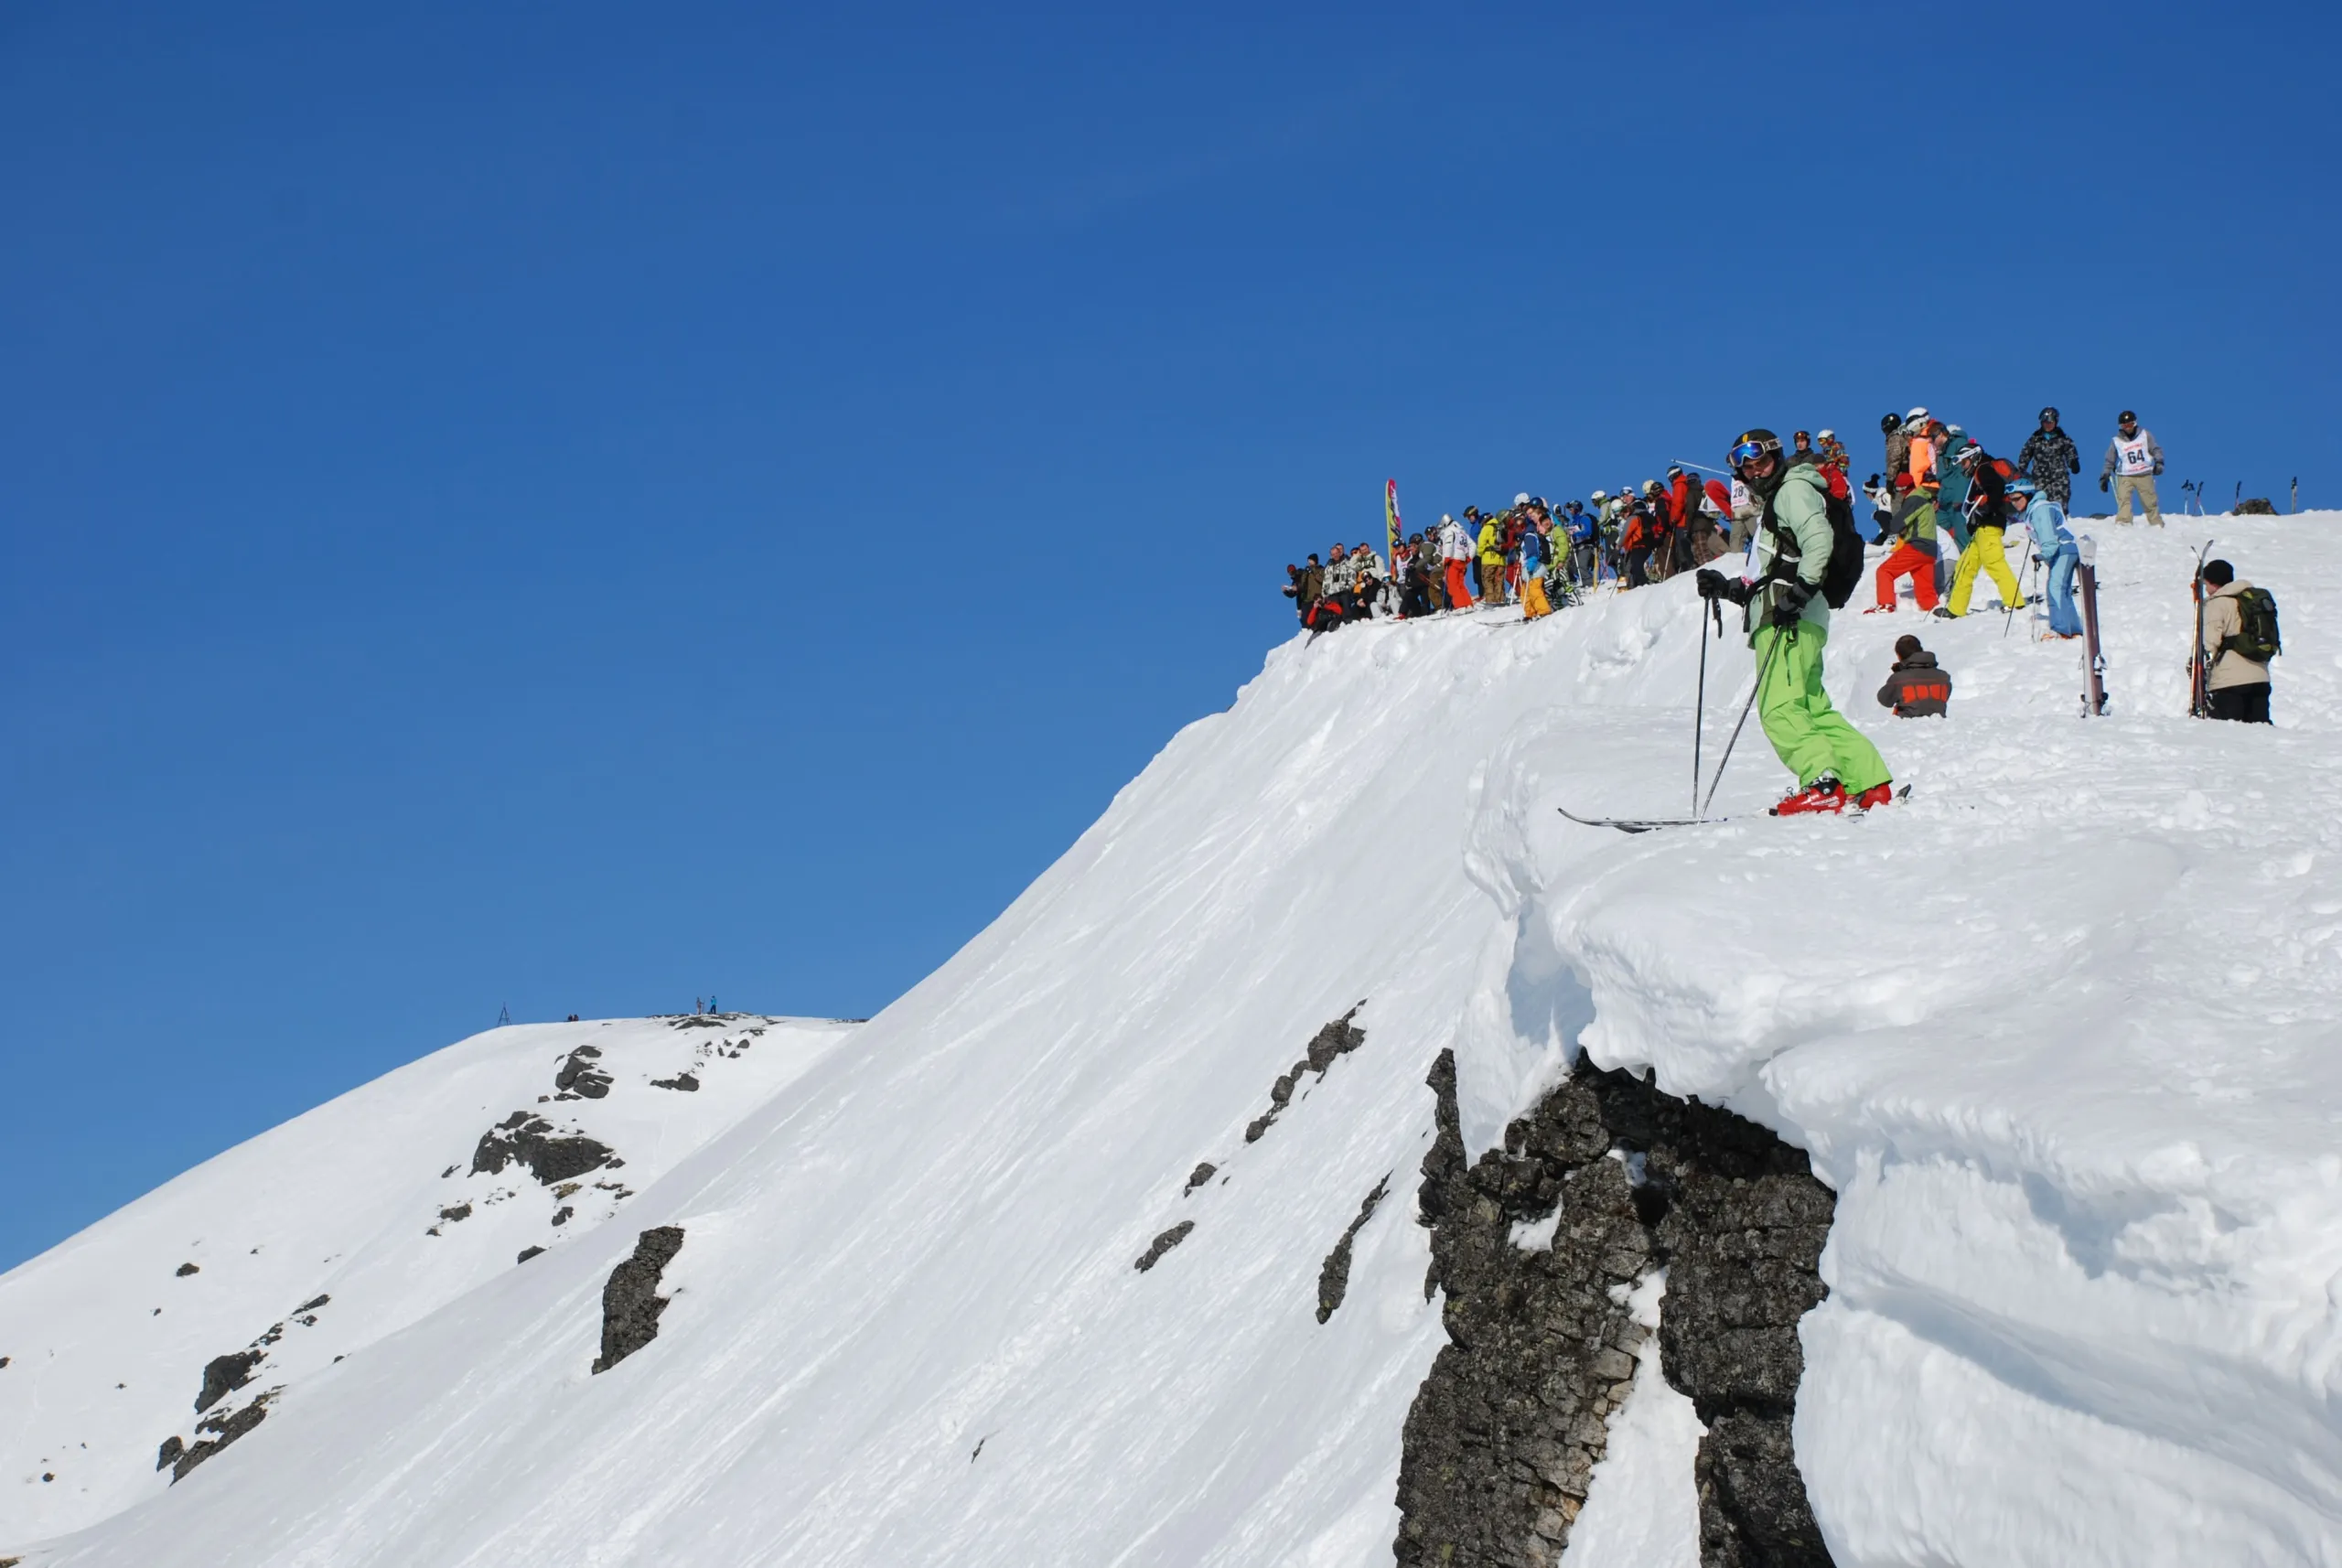
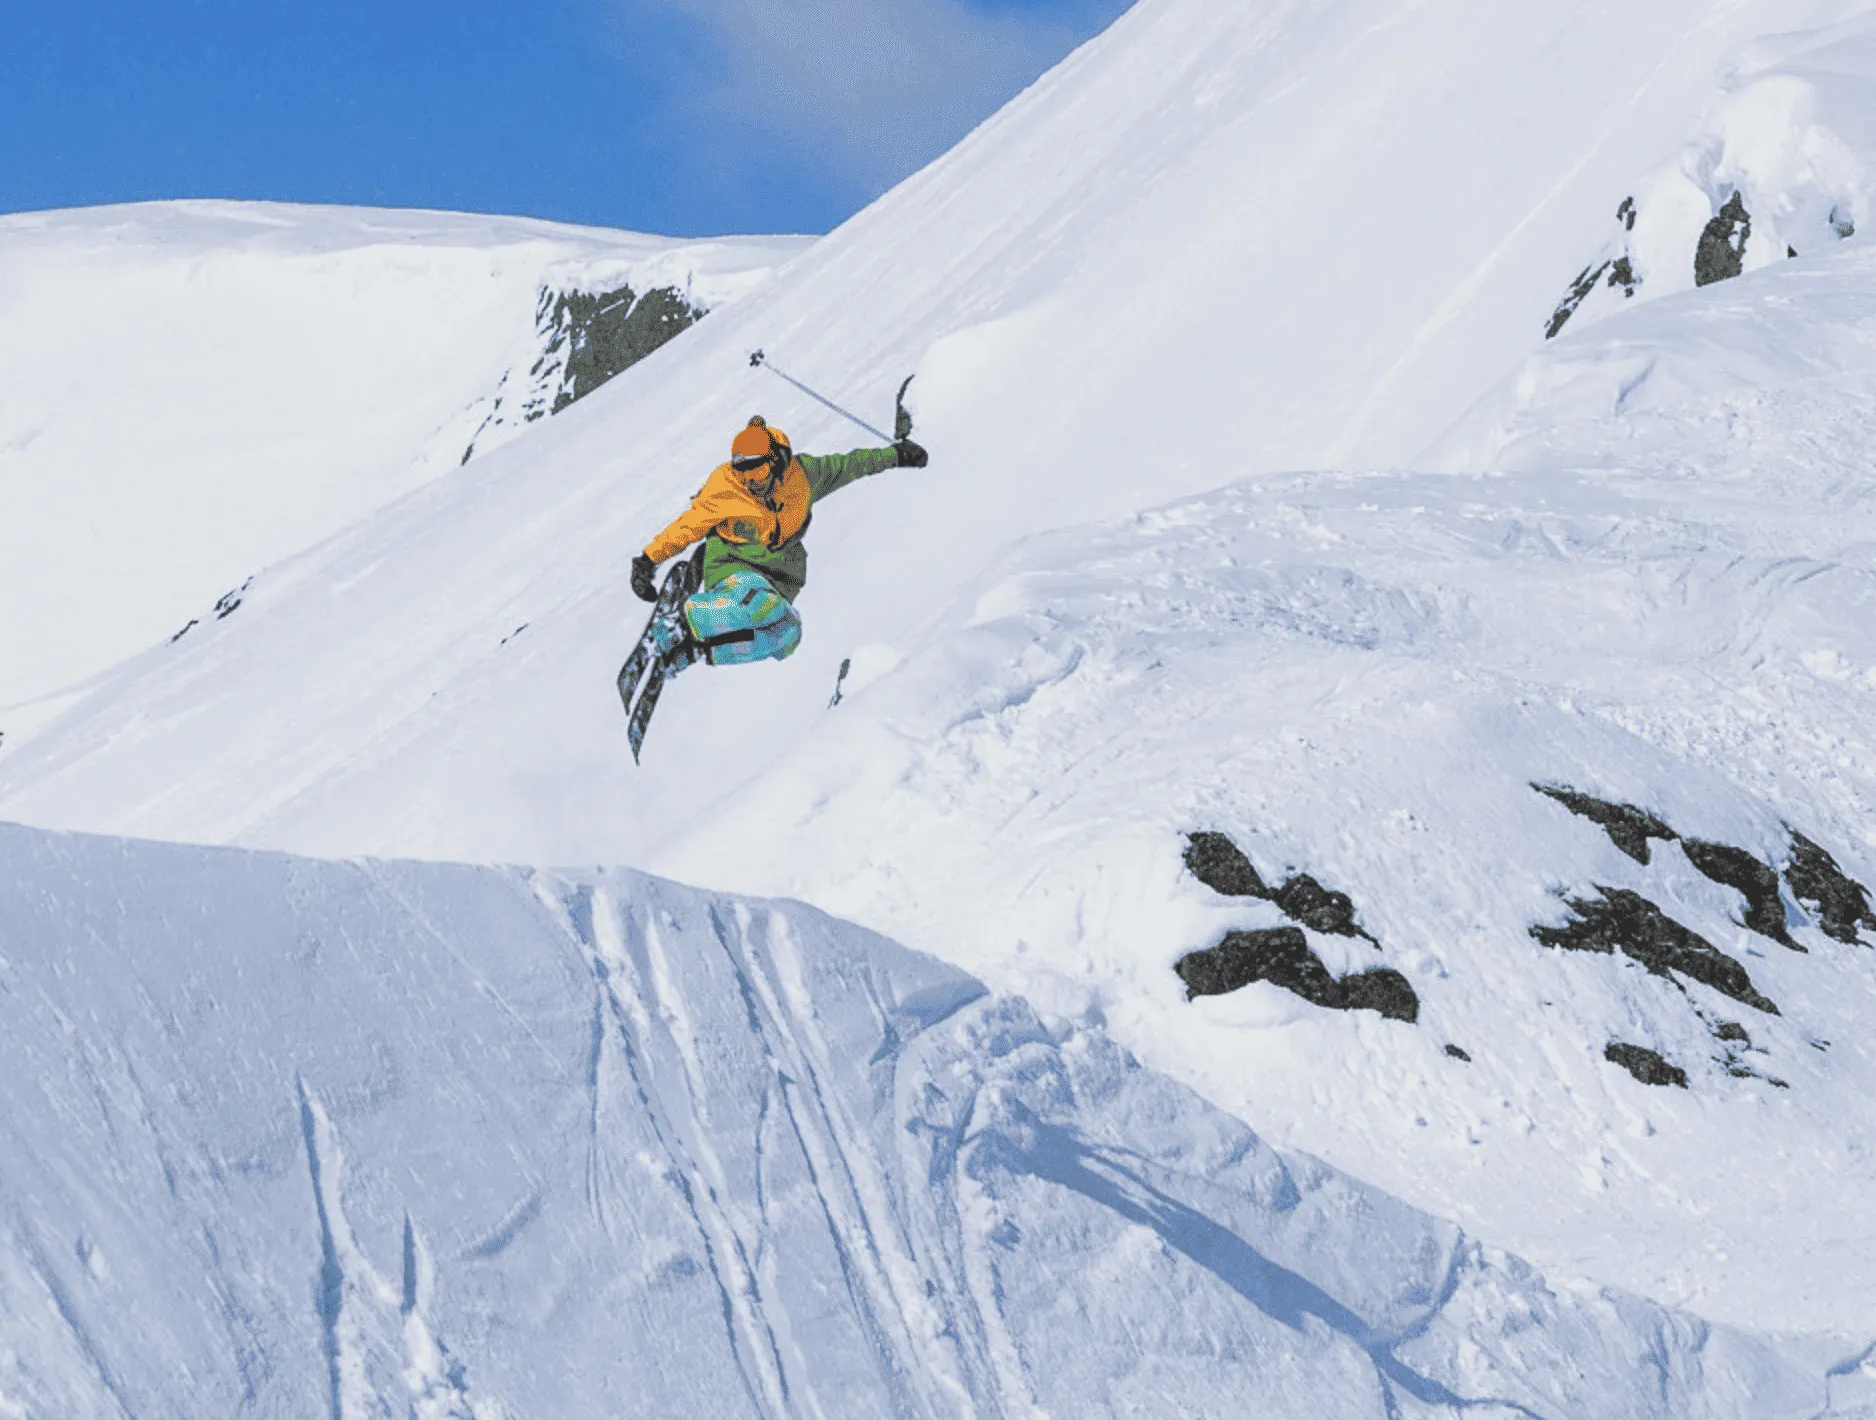
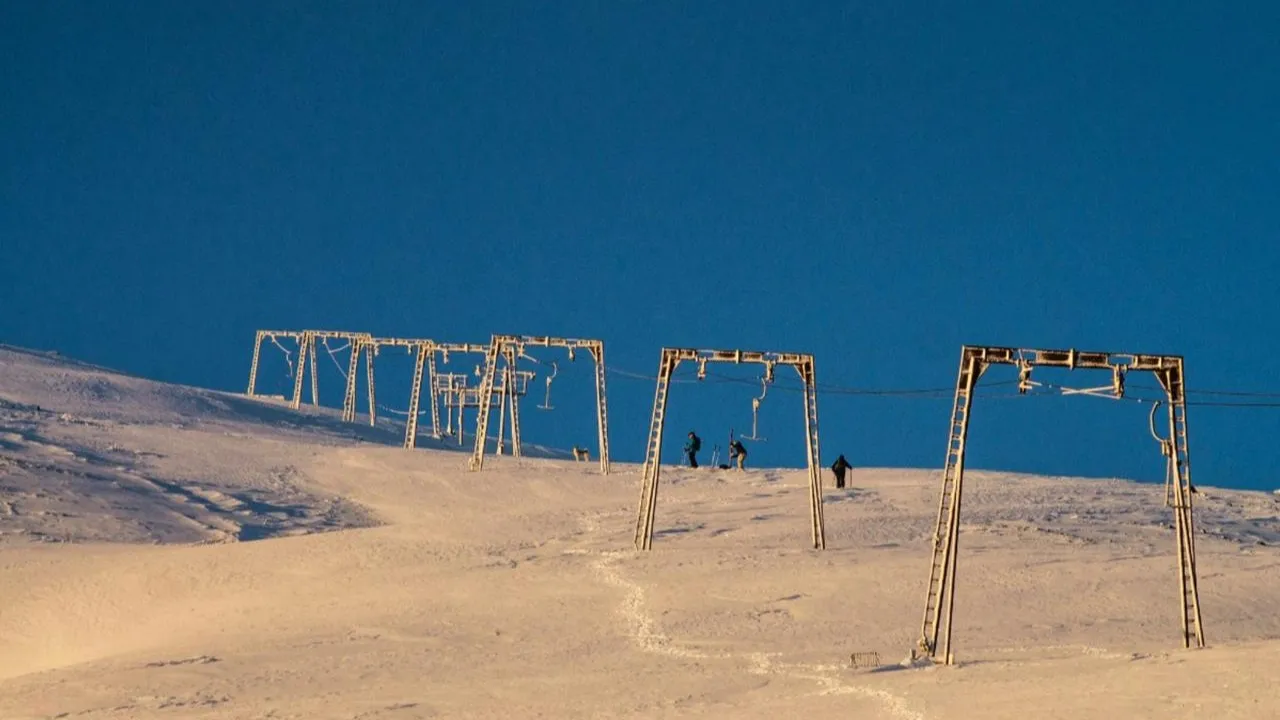
Kukisvumchorr is prized for the mountain's natural character. The slope gradient, trail width, and snow conditions vary here, so even a familiar route can feel different after a snowfall, wind, or a change in temperature.
It is precisely the diverse terrain of the Khibiny Mountains that makes skiing here engaging for both beginners and those who are already confident on the slopes.
Lifts
At Kukisvumchorr, you can choose a run that suits your skill level—ranging from a gentle beginner area to challenging sections featuring steep gradients and natural terrain. The more difficult the run, the greater the demands on your technique and speed control.
Before heading onto the slopes, choose a route based on your experience, snow conditions, and the weather.
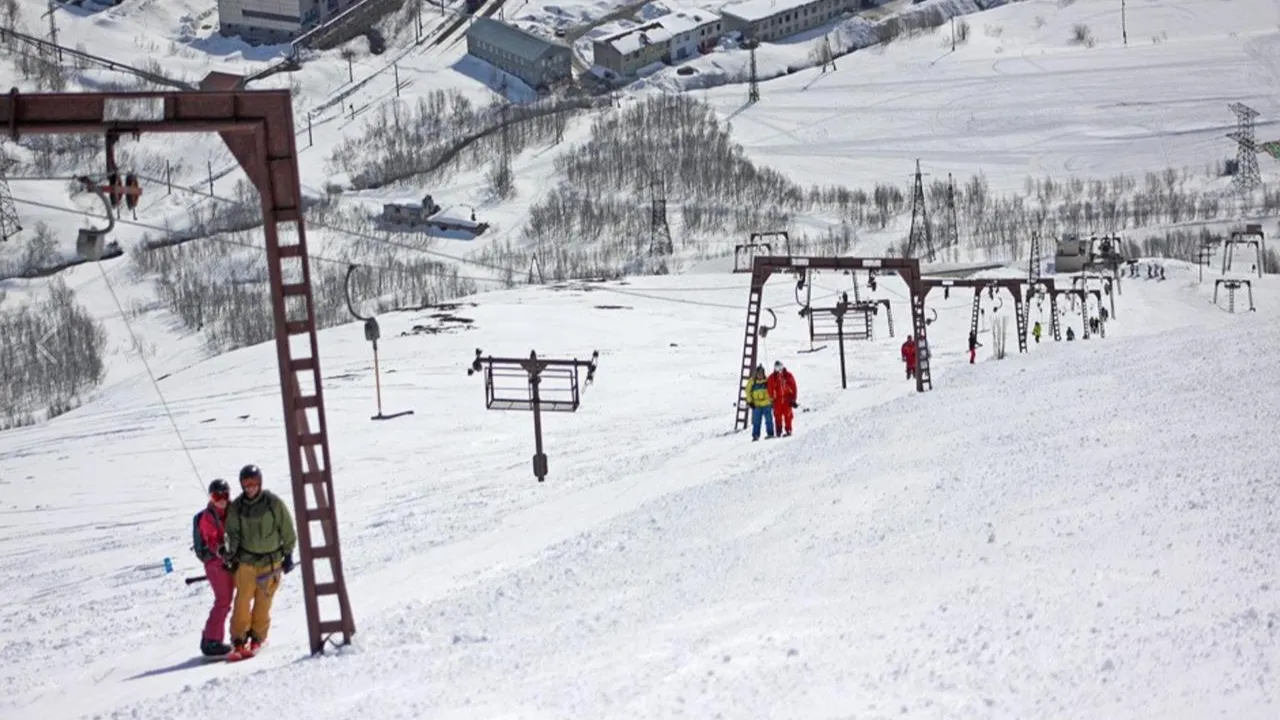
A T-bar lift pulls the skier or snowboarder up the slope—there is no need to remove your gear. There are three lifts on the slope.
The training area lift is located at the base. Its gentle pace and short length make it easy to master your first runs—including with an instructor.
A T-bar tows you up the surface of the slope — you do not take your gear off. Keep your distance when loading, follow staff instructions and stay in the lift line until the marked unload area.
If it is your first T-bar ride, ask a staff member to help you load.
If you are on skis, position one side of the T-bar under you—on the left or the right. Two people can also ride up using a single T-bar. If you are on a snowboard, place the T-bar between your legs
While moving, stay on the marked line and let the T-bar smoothly pull you up the slope to the top
Wait until you pass the return wheel, then calmly release the tow bar and step aside to make room for the next guests
Avalanche
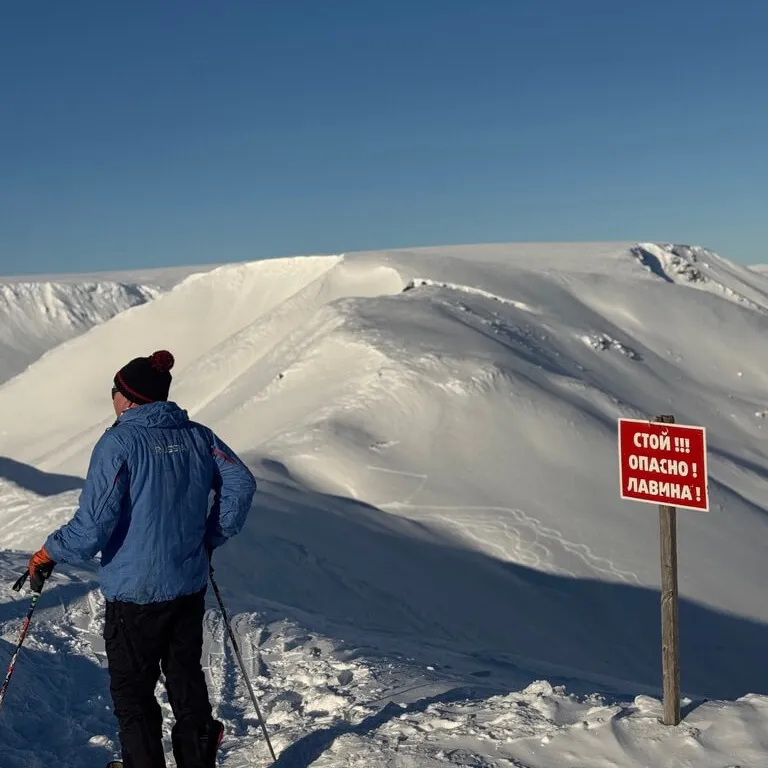
The natural terrain of Kukisvumchorr has long attracted experienced riders. Beyond the groomed runs, you will find steep slopes, couloirs, and challenging mountain terrain.
Off-piste skiing and riding carry increased risks and require appropriate experience, preparation, and an assessment of conditions. Before venturing beyond the groomed runs, always consider the weather and avalanche conditions.
We do not recommend off-piste riding in areas with high avalanche danger; please remain vigilant and cautious!
Avalanche danger is rated on a five-level scale. The higher the number, the less stable the snowpack may be and the more likely avalanches become. Even level 1 does not mean there is no risk at all.
Generally — stable conditions. Avalanches are unlikely, but some local risk remains.
Caution is needed on some slopes. The snowpack may be less stable on certain steep terrain.
Danger is clearly elevated. Instability is possible on many steep slopes.
Dangerous conditions on most steep slopes. Natural avalanches are possible.
Extremely dangerous avalanche conditions. Numerous large natural avalanches are likely.
The avalanche rating is a guide for the area as a whole and is not a guarantee of safety on any one slope.
Recommendations
Give us a call or send us a message—we can provide information on operating hours, trails, equipment rental, and riding conditions.